

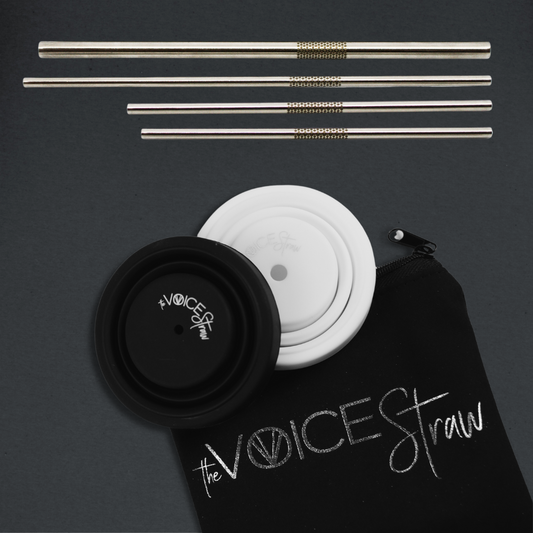
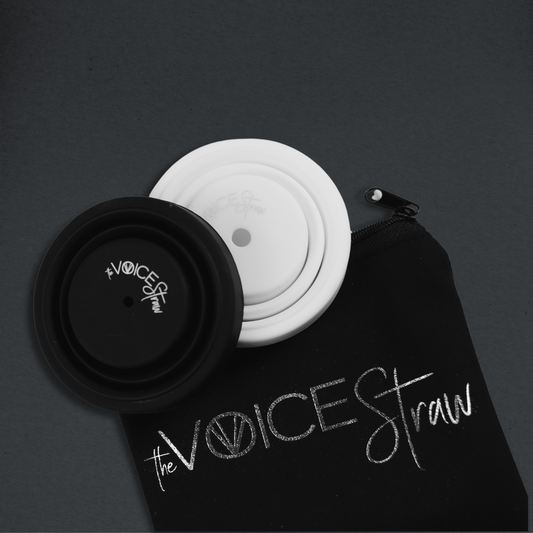
The Straw & Cup I'm very pleased with. It warms me up very quickly. I'm able channel the air right up to the top of my head. Your product works and will be apart of my daily routine. Thank you!
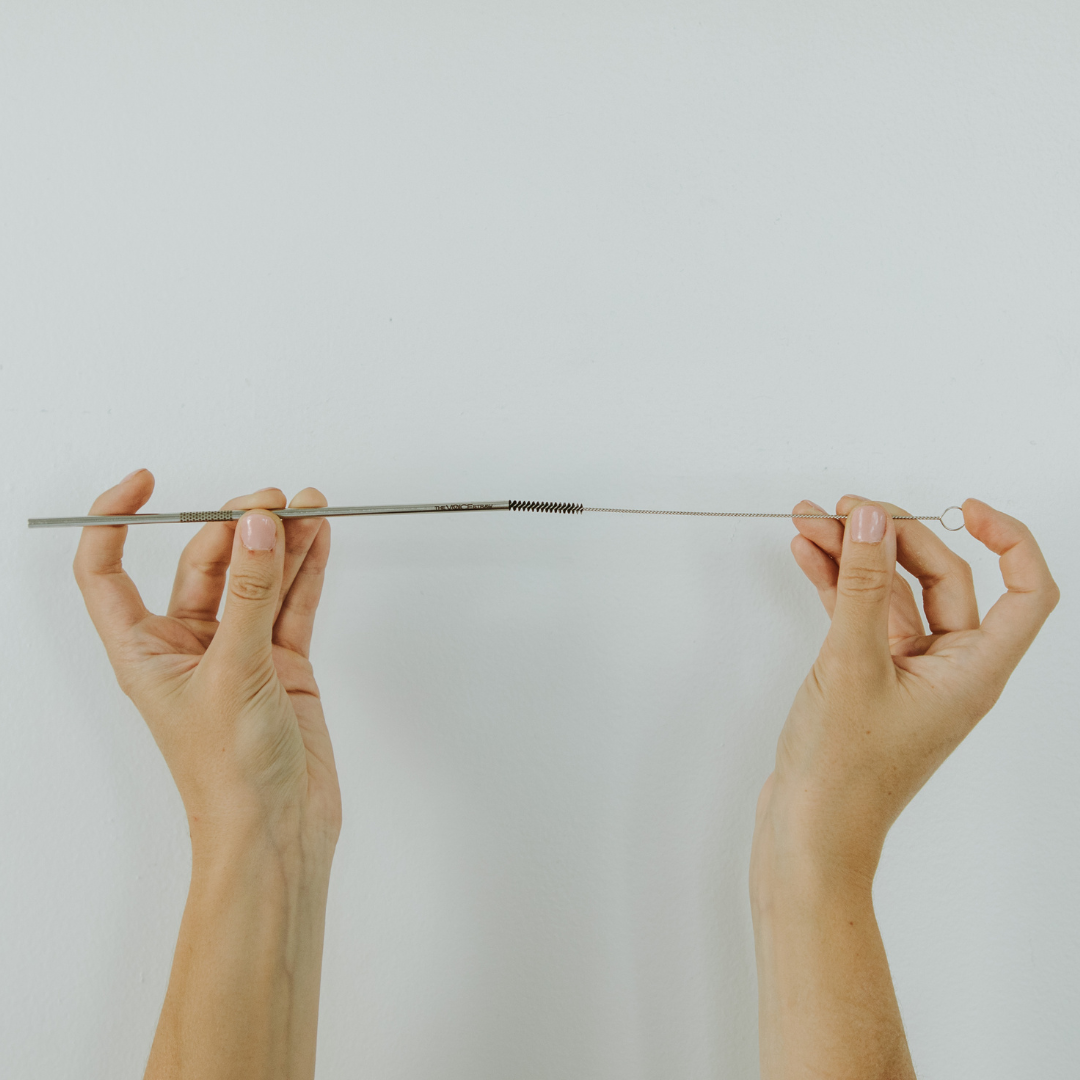
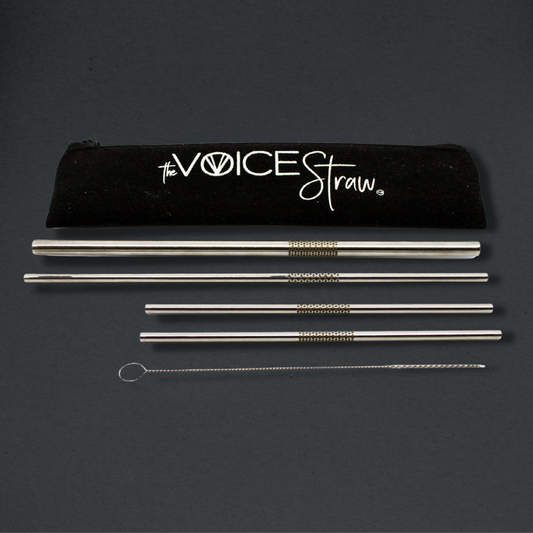
The straws are incredible tools for vocal development!
The "backflow" at first takes some getting used to but stick with it and you will find that you are able to gradually transition into both high and low notes much easier as time goes on. You can really notice the difference while feeling good about doing something healthy for the vocal chords.
An added bonus is that it helps to "clear" out mucus from the throat and nasal cavities. A good nose blowing always follows!